
Repairing the hood of a semi truck is an important task that makes it possible to preserve the safety, functionality, and aesthetics of your heavy duty semi. The hood of a semi truck is not only the first line of defense against road debris and the elements but also houses important components of the truck such as the engine and cooling system. Here’s a detailed guide on how to repair a semi truck hood, tailored to truck drivers and fleet owners who might face this challenge.
Step 1: Assess the Damage
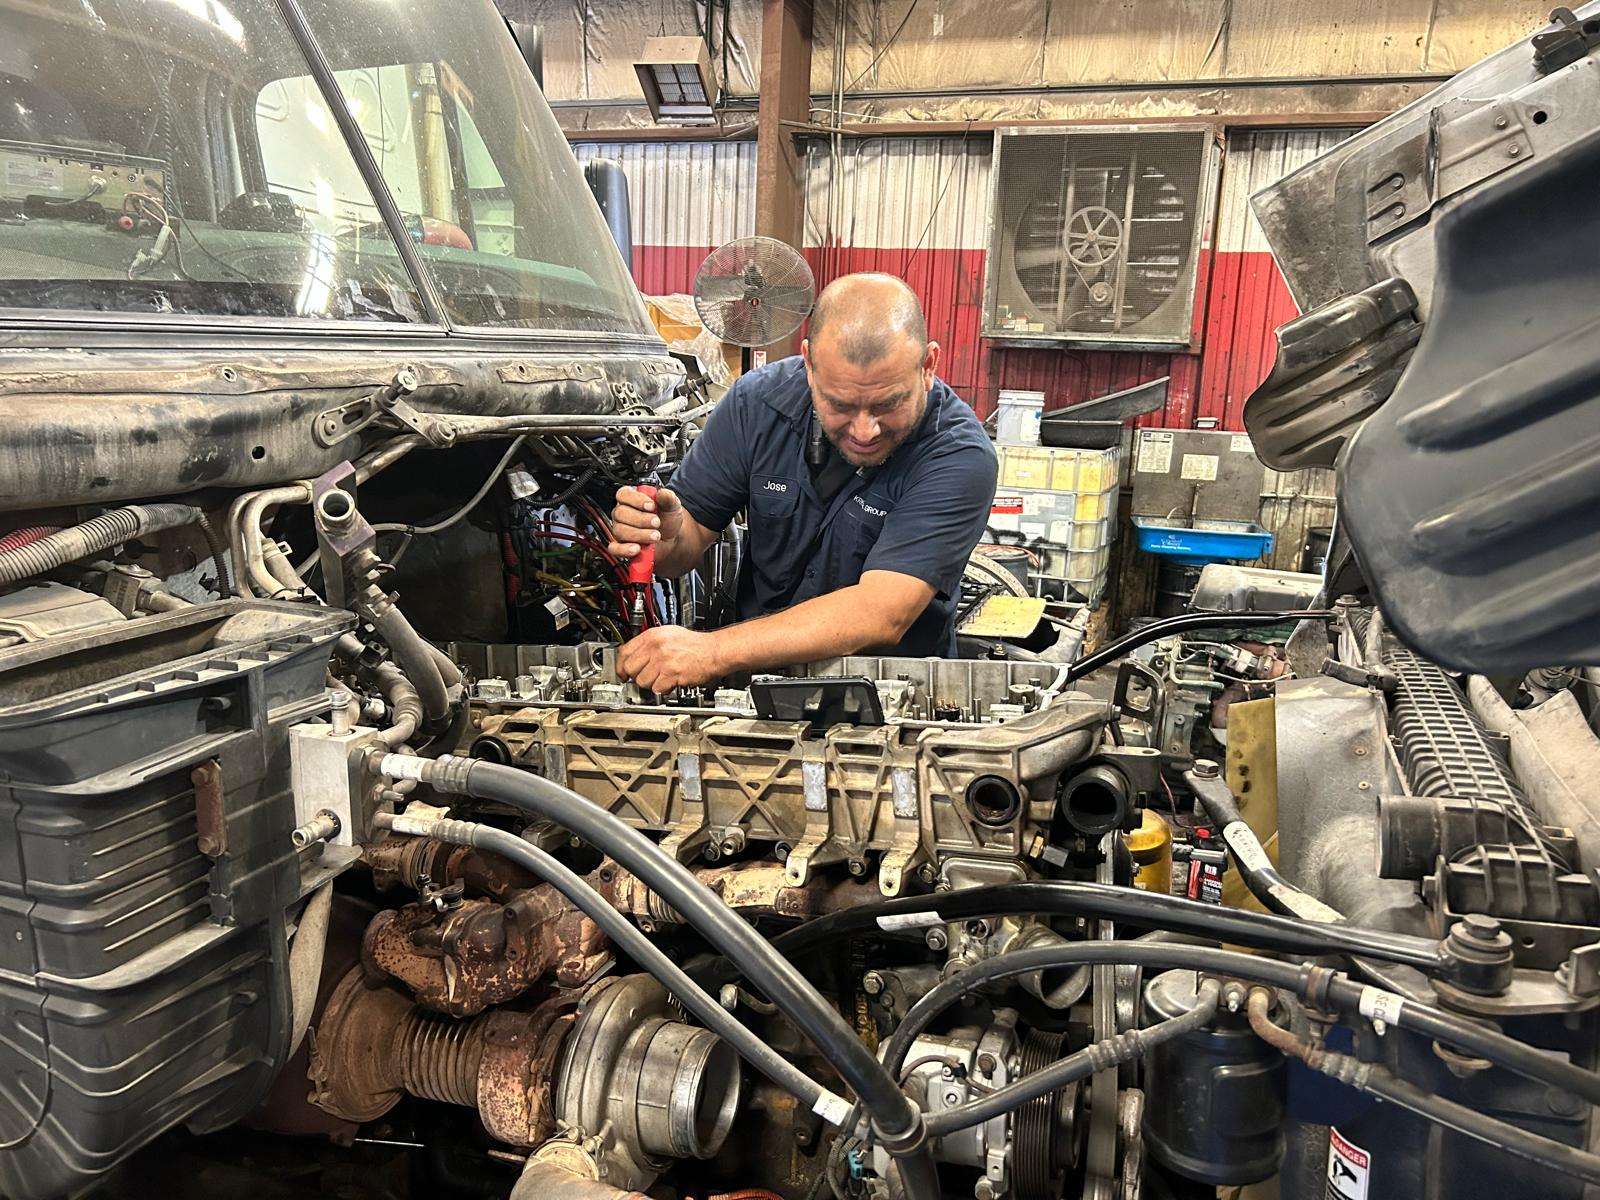
The first step in repairing a semi truck hood is to thoroughly assess the extent of the damage. This could range from minor scratches and dents to significant structural damage. Understanding how severe the damage is will help you determine the appropriate way to repair it and whether or not professional help is needed.
Step 2: Gather Your Tools and Materials
Depending on the type of repair, you will need various tools and materials. For minor dents and scratches, basic tools like sandpaper, a body filler, primer, and matching paint might suffice. For more significant repairs, tools such as a dolly and hammer, a grinder, and possibly even a welder might be necessary.
Step 3: Prepare the Area
Before you start the repair process, it’s important to prepare the area to ensure a smooth operation. Clean the damaged area thoroughly to remove any dirt, grease, or debris. If you’re working with paint or filler, you might need to remove the damaged paint around the area with sandpaper or a grinder.
Step 4: Repair Dents
For dents, use a dolly and hammer to push out the dent from behind. If access to the back of the dent is not possible, consider using a suction cup dent puller to pull the dent from the outside. Once the dent is as flat as possible, any irregularities can be filled with a body filler, then sanded smooth.
Step 5: Fix Scratches and Cracks
Scratches can be sanded out with fine-grit sandpaper. If the scratch is deep, it may require filling with a body filler before sanding. For cracks, clean the area first, then apply a plastic welding compound if the hood is made of fiberglass or a suitable adhesive for metal hoods. Sand any excess material after it dries to create a smooth surface.
Step 6: Apply Primer and Paint
Once the filler and/or welding compound is fully cured and sanded down, apply a coat of primer. Allow it to dry according to the manufacturer’s instructions, then sand it lightly. After the primer, apply the paint in layers, allowing each layer to dry before applying the next. Ensure the paint matches the original color of the hood to maintain a professional look.
Step 7: Clear Coat Application
After the paint has dried completely, apply a clear coat to protect the paint and give it a glossy finish. The clear coat also adds an extra layer of protection against the elements.
Step 8: Reassemble and Check
Once the clear coat is dry, reassemble any parts of the hood that were removed. Ensure all fixtures and fittings are securely attached. It’s also a good idea to check the alignment of the hood to ensure it opens and closes properly without straining any mechanisms.
Step 9: Regular Maintenance
After the repair, regular maintenance is important to keep the hood in good condition. Regular cleaning and inspections can help catch any future damage early.
Choose Krishna Truck & Trailer Repair in Oklahoma City
Repairing a semi truck hood can be a straightforward process if the damage is minor. However, significant damage may require professional intervention to ensure the repair is safe and durable. Regular maintenance after repair can prolong the life of the hood and help avoid future costly repairs.
For all of your diesel semi truck repair needs, give us a call at (405) 435-1527. We will repair your truck and/or trailer to get your truck back on the road in great shape.